What's The Reason? Door Repair Is Everywhere This Year


Door Repair - Simple Fixes You Can Do in a Few Easy Steps
It's easy to think that doors can't be fixed, but there are many easy fixes that can make a big difference. Let's start with shimming.
To shim a door open the door and press it firmly against the frame. Utilize the block or jack plane to remove small pieces of wood from the binding points.
The Frame
The door frame is among the most important components of your home. It is crucial for the security of your home because it helps prevent water damage. However, it is also susceptible to damage. Door frames can be damaged by harsh weather, burglaries, or just regular use. When they do, this could result in large holes, weak latching and a dull appearance. Fortunately, fixing your door frame is a easy process that can be accomplished in a few steps.
The first step is to remove the trim, also known as molding, from your door opening. This can be accomplished with a hammer and chisel or a power saw. Once the trim is removed, make a note of its measurements so you can replace it when the repair is completed.
The next step is to examine any damaged or rotten areas of the door frame. If you discover any rotten wood, you will have to replace it. These are usually available at your local hardware shop and should be constructed of a material that matches the rest of your door frame. Avoid pressure-treated wood since it is prone to twist and warp with time.
After replacing any rotten sections of the frame, you will have to ensure that it is secure in place. This can be accomplished by using the Shim. A Shim is a piece of wood that is placed between the frame and the wall. The shim will add support for the frame and prevent it from moving.
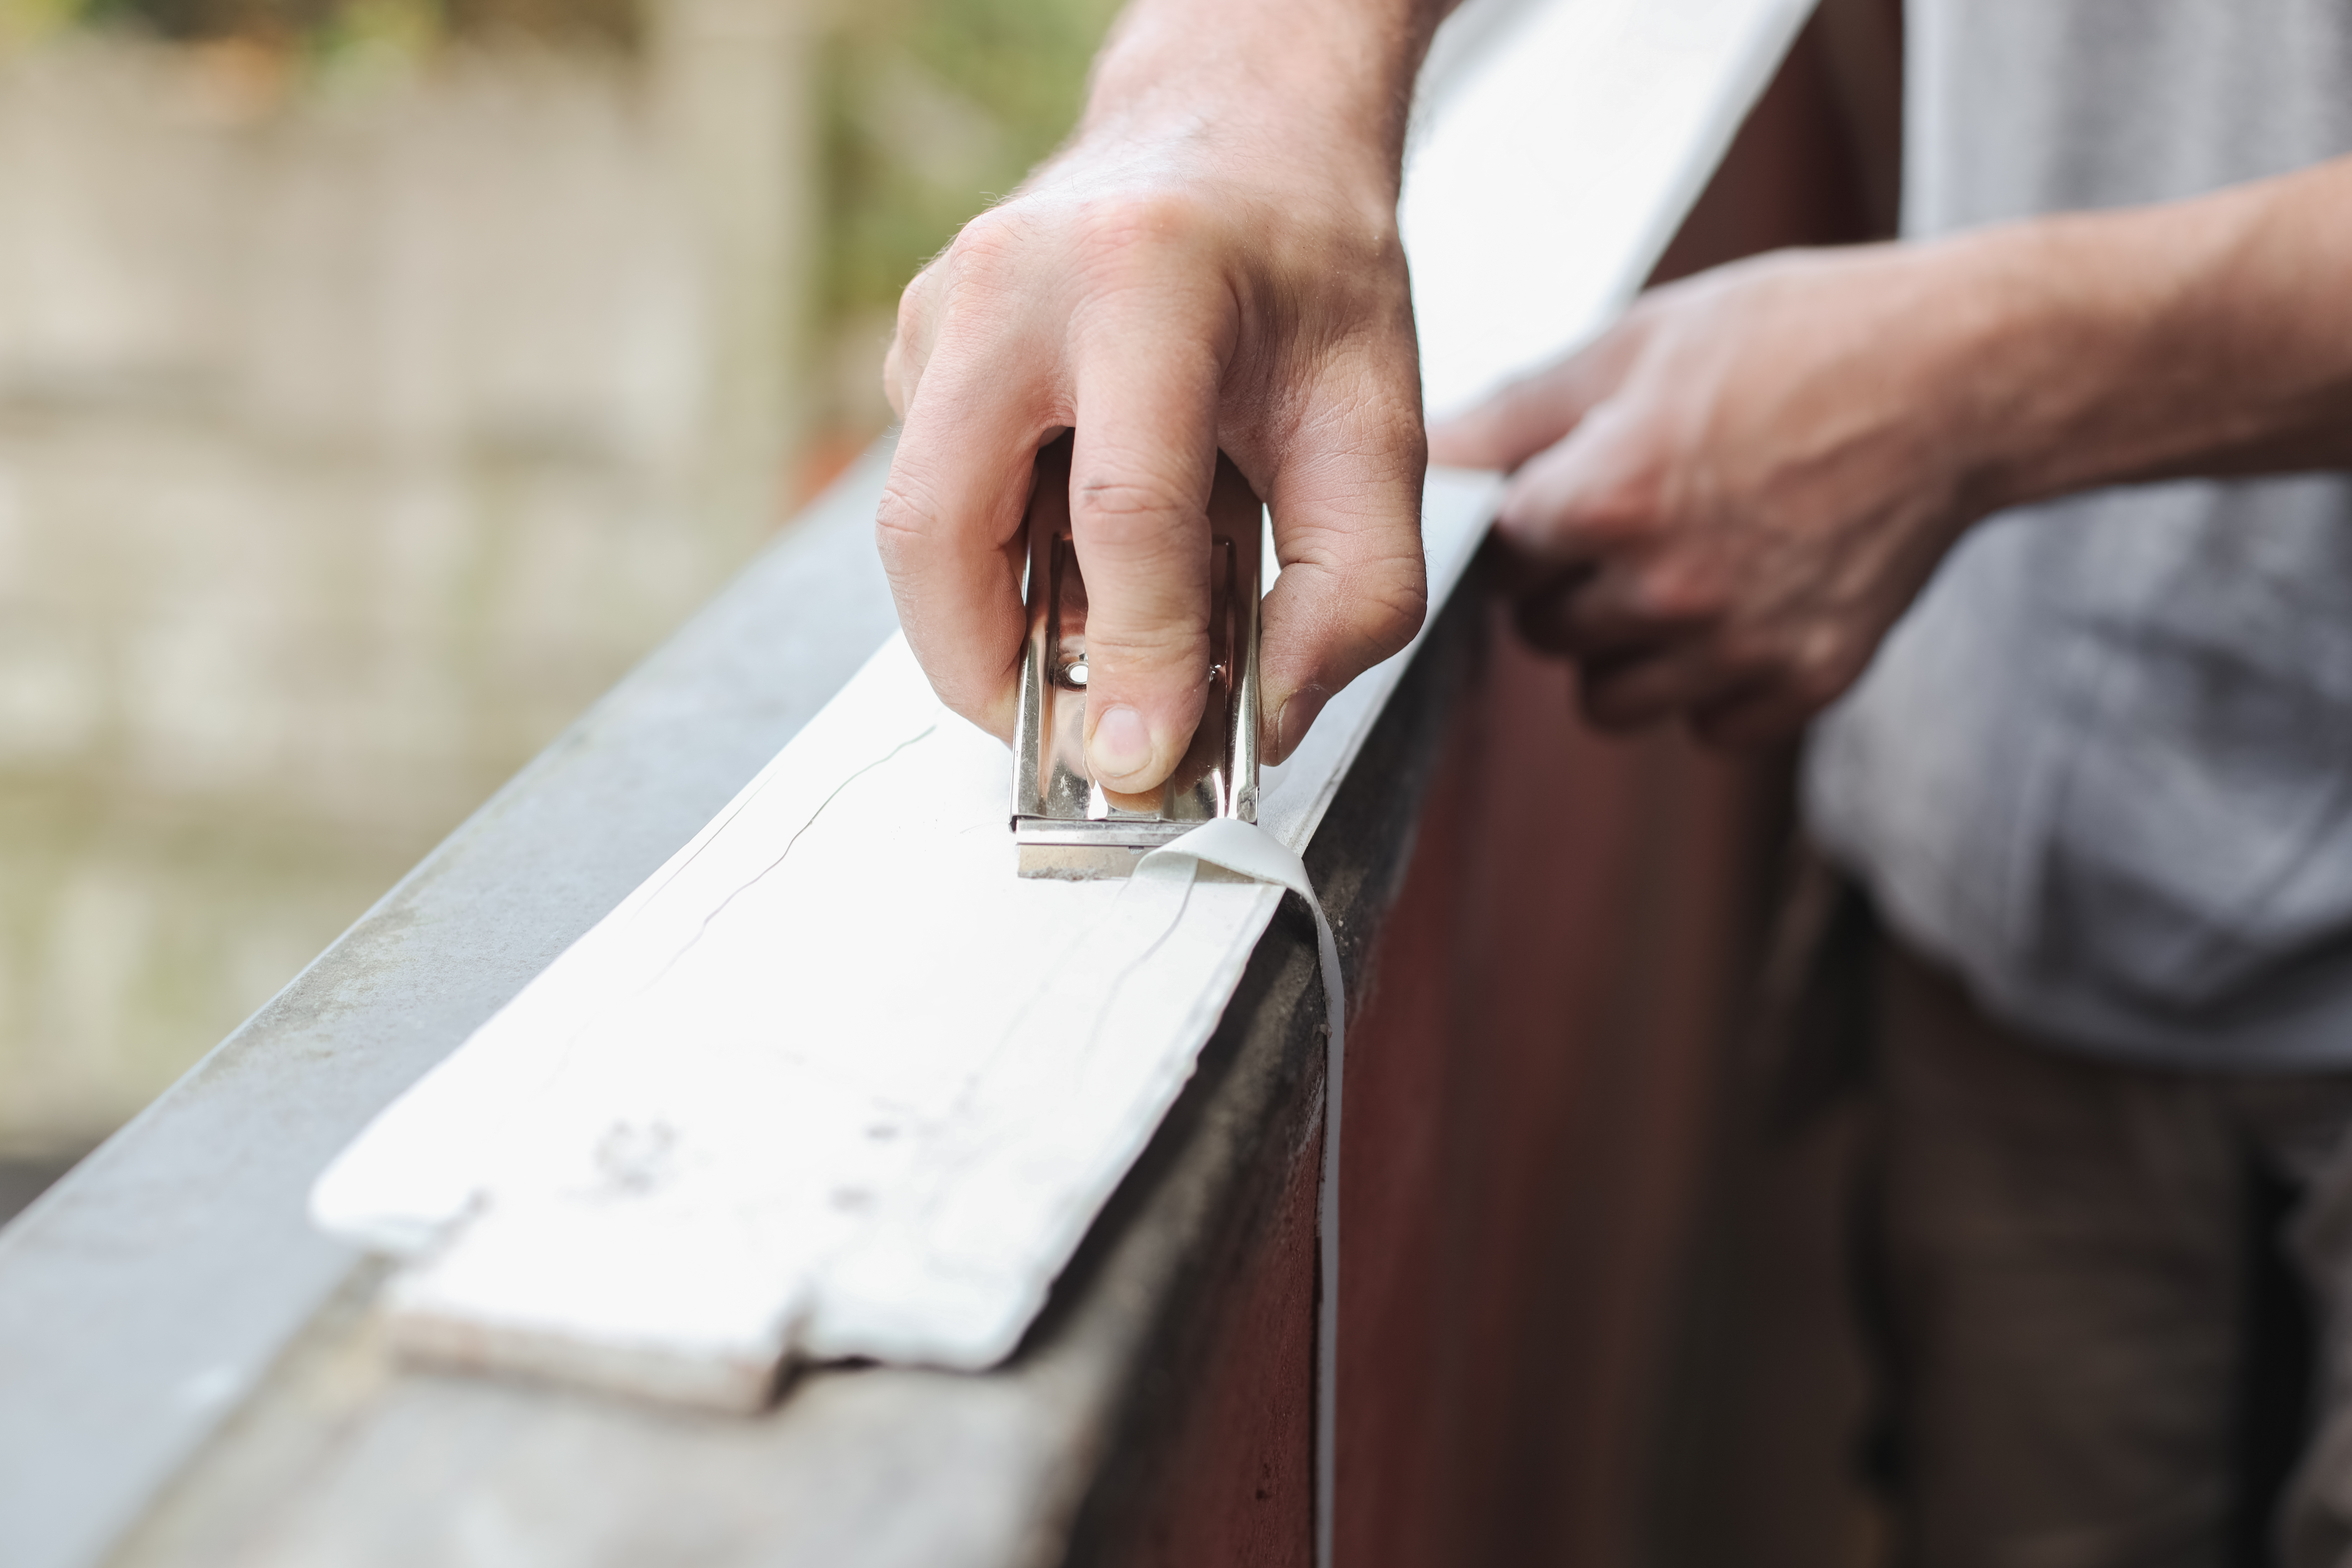
After you have replaced any shims or shims, it's an ideal idea to caulk around the door frame and sill. This will help keep water damage from occurring and shield the frame from pests.
In the end, you'll have to install the trim again on the door frame. If you're lucky, your previous trim might be in decent condition, and you could simply screw it back into place. If not, you may have to buy new trim and follow the same process.
The Threshold
A threshold for a door is the strip of wood that is used to cover and insulate the space between the door and a floor surface. It also prevents water and snow from accumulating within the entrance. Besides being an essential part of the door, a properly installed threshold can also be a stunning feature that will enhance your home's curb appeal. If your threshold is scuffed or damaged, it's time to replace it. Installing a new threshold not as simple as sliding it under the casing before nailing it to the frame It must be supported by a series of wood strips, called shims, that are placed between the frame's two jambs.
To remove the old threshold, first cut it away from the sides of the door frame using a circular saw (use a carbide blade if you can). If you can take out the sub sill - the portion of the frame that runs beneath the threshold. Replace it if it's decaying at the same time as you replace the threshold.
Use a carpenter's hammer to mark the layout lines before cutting the threshold. Note the angles that are right for the notches that will fit around jambs. You can also buy thresholds that are pre-cut to match the dimensions of your doorway in a home center.
Insert the shims, being sure to space them equally. It is fine to alter the thickness of each shim as needed, but they should be not more than 1 1/2 inches in width. It might take a bit of trial and error to get the threshold in a snug place, but capable of moving freely.
Test the fit of your new threshold by closing the door and assessing the ease with which it opens and closes. There shouldn't be any daylight under the door and the sweep at the bottom of the door should lightly hit the top of the threshold.
If the threshold fits perfectly but needs some extra support, apply construction adhesive to the shims prior to pressing them under the threshold. Repeat the process until you achieve an ideal fit that is able to withstand the weight.
The Hinges
Many door hinges get rusty or worsen over time, making it more difficult to close the door. If this happens, it's important to repair the hinge so that the door can be closed and secured correctly. When replacing the hinge, ensure that you choose one that is similar in size and shape. Also, make sure the hinge is properly placed in the mortise and door jamb.
Examine the hinge to determine whether it is in a loose state. If the hinge is not tight, it will be rubbing against the strike plate and then bind to the frame. Check for scratches in the paint or dents on the frame to indicate the location where the hinge is rubbing. If the hinge isn't sufficient tight you can tighten it using a screwdriver. If the hinge is too loose, you might have to replace it. double glaze repair can put an shim between the door frame and the hinge.
If the problem is that the knuckles of the hinge (the cylinders through which the hinge pin is fitted) are bent and need to be straightened, you'll have to straighten them up to make them point towards the jamb of the latch. This can be done by gently bending the knuckles by hand with a pair of large tongue-and-groove pliers, or an adjustable wrench, but it's best to work on just one individual knuckle at a given time to ensure that you don't accidentally bend the hinge leaf out of its mortise.
You may also find that the hinges on your doors are loose because the screws that hold them in place have been stripped. If this is the situation you could replace the screws to give them a better grip on the hinges.
If the hinge isn't damaged and the screw holes aren't clogged you can use a syringe inject carpenter's adhesive into the hinge mortise and joint. Then you can screw the hinge back in position and secure it using an screwdriver or drill. If you're installing new hinges, it's a good idea to mark the locations of the pilot holes on the door as well as the frame of the door to make sure to put the screws in exactly the same place as the hinges that were previously installed.
The Hardware
The majority of people don't give much thought to door knobs, locks or levers until they stop functioning properly. Fortunately, most of these hardware components are repairable. It is usually a simple matter of selecting the best piece that matches the style and finish of your house, and then installing it. For exterior doors it's recommended to add weather stripping too.
If you have a door which is hard to open, you may be able to solve the problem by lubricating the lock assembly. A lot of hinges, handles and locks can become stuck when their wear surfaces get dirty or dry. Cleaning these parts and keeping them lubricated is a cheap way to keep them operating properly.
The most frequent problems with door hardware are broken or loose handle screws, a lock that doesn't rotate when you use the key, and hinges that squeak or bind. In most situations, you can tighten these screws or replace the screw altogether. In some instances however, it's recommended to take the lock and handle from the door and sand the spindle as well as the lock cylinder bore holes, as well as the escutcheon hole to ensure that they are clean prior to installing the new hardware.
If you have a door that is difficult to close, it might be necessary to lubricate its locking mechanism using penetrating oils. You can clean and reinstall hinge pins using longer screws to repair doors that are squeaky.
If you are replacing a handle, lock or hinge, ensure that the one you choose is compatible with the size of the hole of your door and jamb. This information is usually found on the package or on the manufacturer's website. For instance deadbolts require a hole with a 1 1/2-inch or 2 1/8-inch diameter and doorknobs and levers require holes with a different spread (the distance between the center of the knob and the lock holes). You'll also want to check the backset of the replacement, since this is what determines whether it will fit your door.